A PDF is great for sharing a finished document, but it is a poor fit when you need a single page as a picture. Maybe a form asks for an image upload, maybe you want to post one page on social media, or maybe you need to drop a slide into a presentation. In every one of those cases, the fix is the same: turn the PDF page into a JPG.
The good news is that you can convert PDF to JPG free, in under a minute, without installing anything and without creating an account. This guide walks through the three methods that actually work in 2026 – online converters, built-in desktop tools and phone apps – plus the quality settings that decide whether your JPG looks sharp or blurry, and the free limits that catch most people out. Demand for this is huge: the phrase “convert pdf to jpg” alone draws roughly 823,000 searches a month, according to third-party keyword estimates, so the tools below are well tested by millions of people.
Why Convert a PDF to JPG?
A PDF is a container. It holds text, fonts, vector graphics and images together on fixed pages, and it is designed so the document looks identical everywhere. A JPG is a single flat image. That difference is exactly why conversion is useful: most places that accept images do not accept PDFs.
The most common reasons people convert are simple. Upload forms for job applications, visa portals and university systems usually ask for a JPG or PNG, not a PDF. Social media posts, blog thumbnails and marketplace listings need images. Presentations and documents look cleaner with a page saved as a picture than with a whole PDF embedded. And when a PDF is a scanned page – a signed form, an old book page, a receipt – turning it into a JPG is often the only way to share it in a chat or an email where the other person just wants to see it.
One thing to know before you start: converting a PDF page to JPG turns everything on that page, including text, into pixels. The text stops being selectable and searchable. If you need to keep the text editable, you want a PDF to Word converter instead. But if a picture is what you need, JPG is the right call.
Method 1: Convert PDF to JPG Online in Seconds
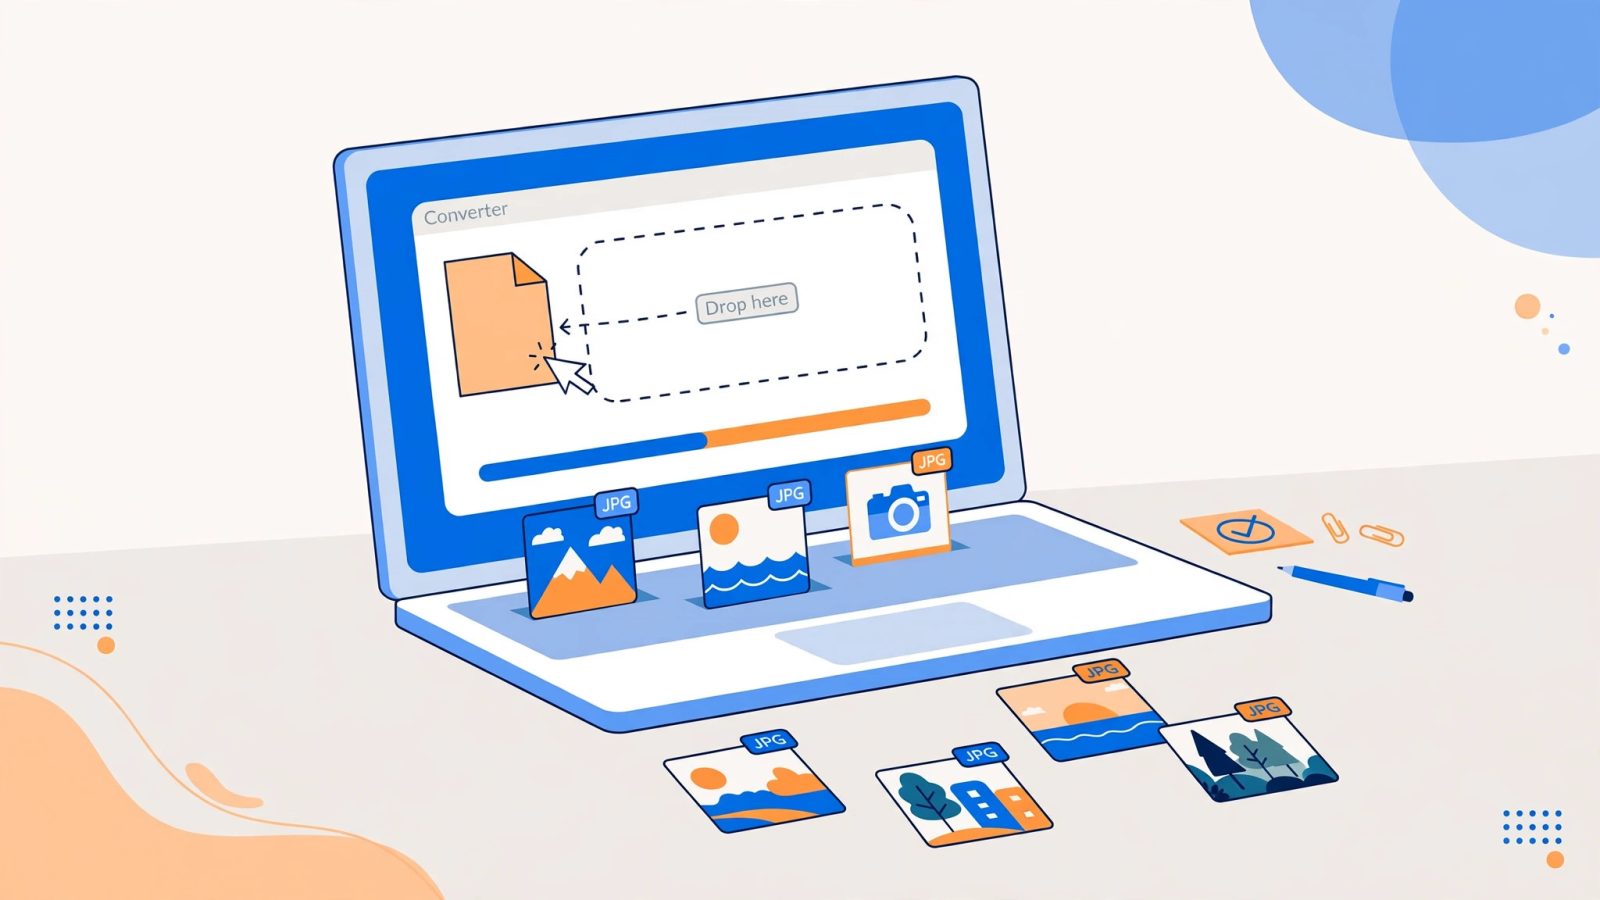
For a one-off conversion, an online converter is the fastest route. Open the site, drop in your PDF, pick JPG, and download the result. The whole job usually takes less than a minute, and the best-known services need no signup at all.
If you want the simplest possible path, our free PDF to JPG converter turns each page of your PDF into a JPG image right in your browser, with no account and no watermark. That is the whole point of a tool like this: the file never needs to leave your device for a small job, and there is nothing to install.
The big-name services work the same way, with different free limits. iLovePDF lets free users convert PDFs up to 25 MB with no registration, and it deletes uploaded files within about two hours. Adobe Acrobat online accepts PDFs up to 100 MB for its free converter, which makes it the better pick for a large, image-heavy file. Smallpdf is polished and easy, but its free plan is tight – most tests report around two free tasks a day – so it suits the occasional conversion rather than a batch. Sejda is the generous one for small jobs: three free tasks an hour, files up to 50 MB or 200 pages, and no watermark on the output.
Whichever service you pick, the steps are the same. Upload the PDF, choose whether you want every page converted or just specific pages, pick your quality, and download the JPGs – usually as individual files or as one ZIP. If your PDF has 40 pages and you only need page 3, convert only that page. It saves time and keeps the download small.
Method 2: Convert PDF to JPG on Windows and Mac
If you convert PDFs often, or the document is private, doing it on your own computer beats uploading it anywhere. No file leaves your machine, there are no daily caps, and it works offline.
On a Mac, the built-in Preview app does the job with no extra software. Open the PDF in Preview, go to the page you want, then choose File, then Export. Pick JPEG as the format, set the quality slider, and save. For a whole document, you repeat the export per page, which is fine for a short file but tedious for a long one – in that case a dedicated converter is quicker.
On Windows, there is no built-in one-click export, but the free route is easy. Open the PDF in your browser – Edge and Chrome both open PDFs – and use the browser’s screenshot or print-to-image options, or install a free desktop tool such as Sejda Desktop, which gives you three free tasks a day with the same 50 MB and 200-page caps as its web version. PDF-XChange Editor and the free version of PDF24 also convert pages to images without a watermark.
Desktop tools have one more advantage: batch conversion. If you have ten PDFs to turn into images, a desktop app will chew through them in one run, while most free online tools make you upload and convert one file at a time.
Method 3: Convert PDF to JPG on Your Phone
Phones are where most PDFs arrive these days – in an email, a chat message or a download – so converting on the phone itself is often the quickest path of all.
On iPhone, open the PDF in Files, take a screenshot of the page you need, and the screenshot saves as a PNG in Photos. That works in seconds for a single page. For a cleaner result, the free iLovePDF or Adobe Acrobat mobile apps convert whole PDFs to JPG directly, page by page, without the status bar and screen edges a screenshot captures.
On Android, the same trick works: open the PDF, screenshot the page, and crop it in Google Photos. For a proper conversion, the iLovePDF and Smallpdf Android apps both offer PDF to JPG in their free tiers, and the converted images land straight in your gallery, ready to share.
One phone-specific tip: if the PDF came from a chat app, check the file size before converting. Chat apps often compress attachments, and a PDF that arrived compressed will produce a softer JPG no matter which converter you use. Ask the sender for the original file if the quality matters.
Picking the Right Quality: DPI and JPG Settings Explained
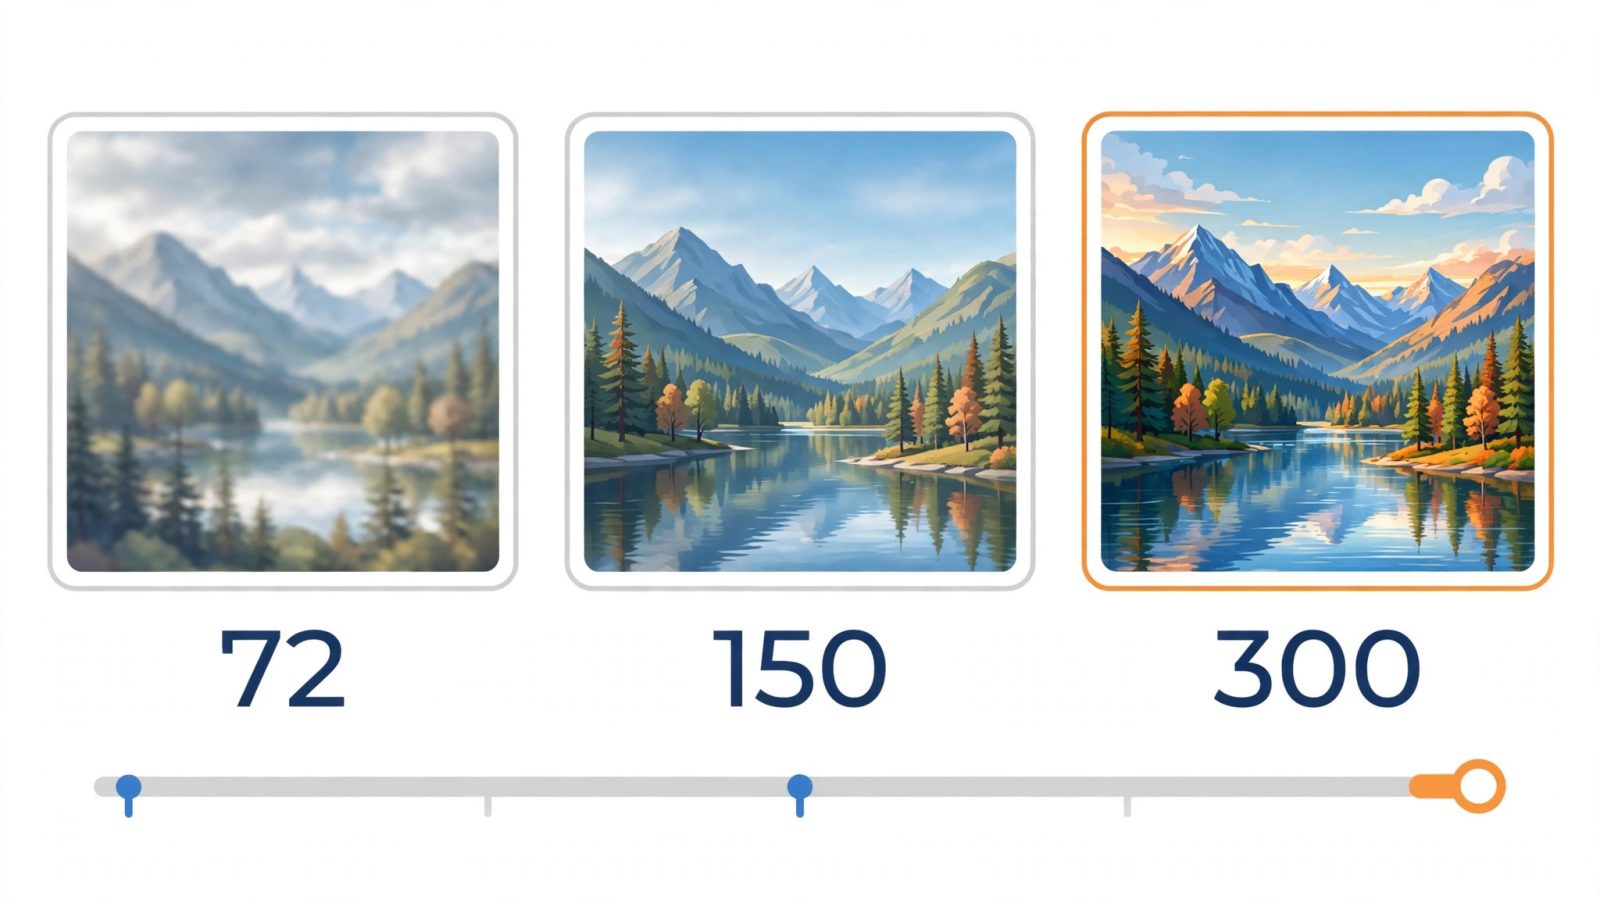
The setting that matters most is DPI, or dots per inch. It decides how many pixels each PDF page becomes, and it is the difference between a crisp image and a blurry one.
At 72 DPI, a standard A4 page becomes roughly 595 by 842 pixels. That is fine for a quick look on screen, but it looks soft if anyone zooms in. At 150 DPI the same page is about 1240 by 1754 pixels – sharp on screen and good enough for most uploads. At 300 DPI you get about 2480 by 3508 pixels, which is print quality and the right choice if the JPG will ever be printed or used in a design.
Higher DPI means a bigger file. A 300 DPI JPG of a photo-heavy page can be several megabytes, while the same page at 150 DPI might be under one megabyte. For anything that stays on screen – a form upload, a social post, a chat message – 150 DPI is the sweet spot. Use 300 DPI only when print quality matters, and if the file then turns out too large, run it through our free image compressor to shrink it to an exact file size without guessing.
The second setting is JPG quality, usually a slider from 1 to 100. For photos and scanned pages, 85 to 90 gives you a file that looks identical to the original at normal viewing size while staying small. Dropping to 70 saves more space but starts to show blocky artefacts around text edges. There is rarely a reason to go above 90: the file grows fast and the visible gain is almost zero.
JPG vs PNG: Which One Should You Choose?
Most converters offer both JPG and PNG, and picking the wrong one is the most common beginner mistake. The rule is simple: JPG for photos and scans, PNG for text-heavy pages and anything with sharp lines.
JPG uses lossy compression, which means it throws away a little detail to make the file much smaller. That trade is perfect for photographs, scanned pages and anything with gradients, because the lost detail is invisible to the eye. A photo page that is 4 MB as a PNG is often under 500 KB as a JPG.
PNG is lossless, so it keeps every pixel exactly. That makes it better for pages that are mostly text, diagrams, screenshots or line art, where JPG compression leaves fuzzy halos around sharp edges. The cost is file size: a PNG of the same page can be five to ten times larger than the JPG.
If you are unsure, convert to JPG first and zoom in on the result. If the text edges look clean, you are done. If they look fuzzy, convert the same page to PNG instead. And if you later need the other format, our free image format converter switches between PNG, JPG, WebP and AVIF in seconds, so you are never locked into your first choice.
What to Do With Your JPGs After Converting
Converting is only half the job. A few habits make the result far more useful.
First, name the files properly. Converters usually name outputs page-1.jpg, page-2.jpg and so on, which is useless a month later. Rename them to something like invoice-march-2026-p1.jpg before you forget what they are. Second, if the PDF had more pages than you needed, delete the extras now rather than carrying a folder of images you will never use. If the extra pages are the problem in the first place, our free split PDF tool lets you pull out just the pages you need before converting, so you never create the extra images at all.
Third, check the file size against where the image is going. Many upload forms cap images at 2 MB or 5 MB, and a 300 DPI conversion of a photo page can easily pass that. Compress before you upload rather than after a failed attempt. And if the JPG came from a phone photo saved as HEIC, remember that some older systems still reject HEIC files – our free HEIC to JPG converter fixes that in one step.
Free Limits and Privacy: What to Watch Out For
Free converters are genuinely free for small jobs, but every one of them has a limit, and the limit is usually where the sales pitch starts. Knowing the caps in advance saves you from getting stuck halfway through a batch.
Size caps are the first wall. iLovePDF caps free files at 25 MB, Sejda at 50 MB and Adobe’s free online tool at 100 MB. If your PDF is bigger than the cap, split it into smaller files first, or use a desktop tool with no cap. Task caps are the second wall: Sejda allows three free tasks an hour, Smallpdf around two a day, and Adobe’s free online tools ask you to sign in after a couple of conversions.
Privacy is the part people skip. Online converters upload your file to a server, process it there and delete it afterwards – Smallpdf deletes files after about an hour, iLovePDF within about two hours, and Sejda holds web files for up to two hours. That is fine for a public flyer or a product manual. It is not fine for a contract, a medical record, a bank statement or anything with an ID number in it. For sensitive documents, convert on your own computer or phone instead, where the file never leaves your device.
Finally, watch for watermarks. The reputable converters named in this guide do not watermark free output, but plenty of lesser-known sites do, and some only reveal the watermark at the download step. If a site asks you to create an account before it shows the download button, close the tab and use one of the tools above instead.
Frequently Asked Questions
Is converting PDF to JPG really free? Yes, for normal use. Every tool named in this guide converts PDFs to JPG without payment, and the most generous ones need no account at all. You only hit a paywall with very large files, very long documents or heavy daily use.
Will the JPG look as good as the PDF? At 150 DPI or higher, yes for all practical purposes. A JPG is a flat image, so text is no longer selectable, but visually it matches the page. If the original PDF was a low-quality scan, the JPG cannot be sharper than the scan it came from.
Can I convert just one page of a PDF? Yes. Every converter above lets you pick specific pages, and most let you convert a single page on its own. If you need the same page often, split it out of the PDF first so you are not repeating the selection every time.
Does converting work on scanned PDFs? Yes. A scanned PDF is already a set of images inside a PDF wrapper, so conversion is quick and the quality depends entirely on the scan. A 300 DPI scan converts beautifully; a 72 DPI scan will always look soft, whatever tool you use.
What is the best DPI for converting PDF to JPG? Use 150 DPI for anything that stays on screen and 300 DPI for anything that might be printed. 72 DPI is only worth it when file size matters more than quality, such as a quick preview in a chat.
Converting a PDF to JPG is a two-minute job once you know which tool fits the file in front of you: an online converter for a quick one-off, a desktop tool for private or batch work, and your phone when the PDF arrived in a message. Pick 150 DPI, quality 85 to 90, and JPG for photos or PNG for text-heavy pages, and the result will look exactly like the document you started with.
All prices, file-size limits and free-tier details in this guide were checked on 14 November 2026 against the services named, using their own help and pricing pages plus independent comparisons. Limits change, so check the tool’s own page if a cap surprises you.