A photo straight from a modern phone can weigh 4 MB or more. Put twenty of those on a web page and you are asking visitors to download 80 MB before they see a single word. Most of them will leave before the page finishes loading, and Google will notice too, because page speed is part of how pages rank. The good news is that you can shrink most images by half or more without anyone seeing a difference. This guide shows you how to compress images without losing quality, using free tools that run in your browser, and explains the few settings that actually matter.
Everything in this guide was checked on 13 November 2026 against the tools’ own documentation and current independent guides. Free limits change often, so treat the numbers below as checked on that date rather than as permanent promises.
Why image size matters more than you think
Images are usually the heaviest part of a web page. A single uncompressed phone photo can be larger than all the text, code and styling on the page combined. That weight costs you in three ways. First, slow pages lose visitors: people on mobile connections give up quickly when images crawl in. Second, search engines rank faster pages higher, so bloated images quietly push you down the results. Third, storage and bandwidth cost money, whether you pay a host, a cloud bill or a phone data plan.
Compression is the fix, and it is not a compromise. A well compressed image looks identical to the original at normal viewing size, because the data being removed is detail the human eye cannot see at that size. The trick is knowing which kind of compression to use and where to stop. Get it right and a 5 MB photo becomes 800 KB with zero visible difference, which is a result several independent guides confirm is routine for everyday photos.
Lossless vs lossy compression: what actually happens to your pixels
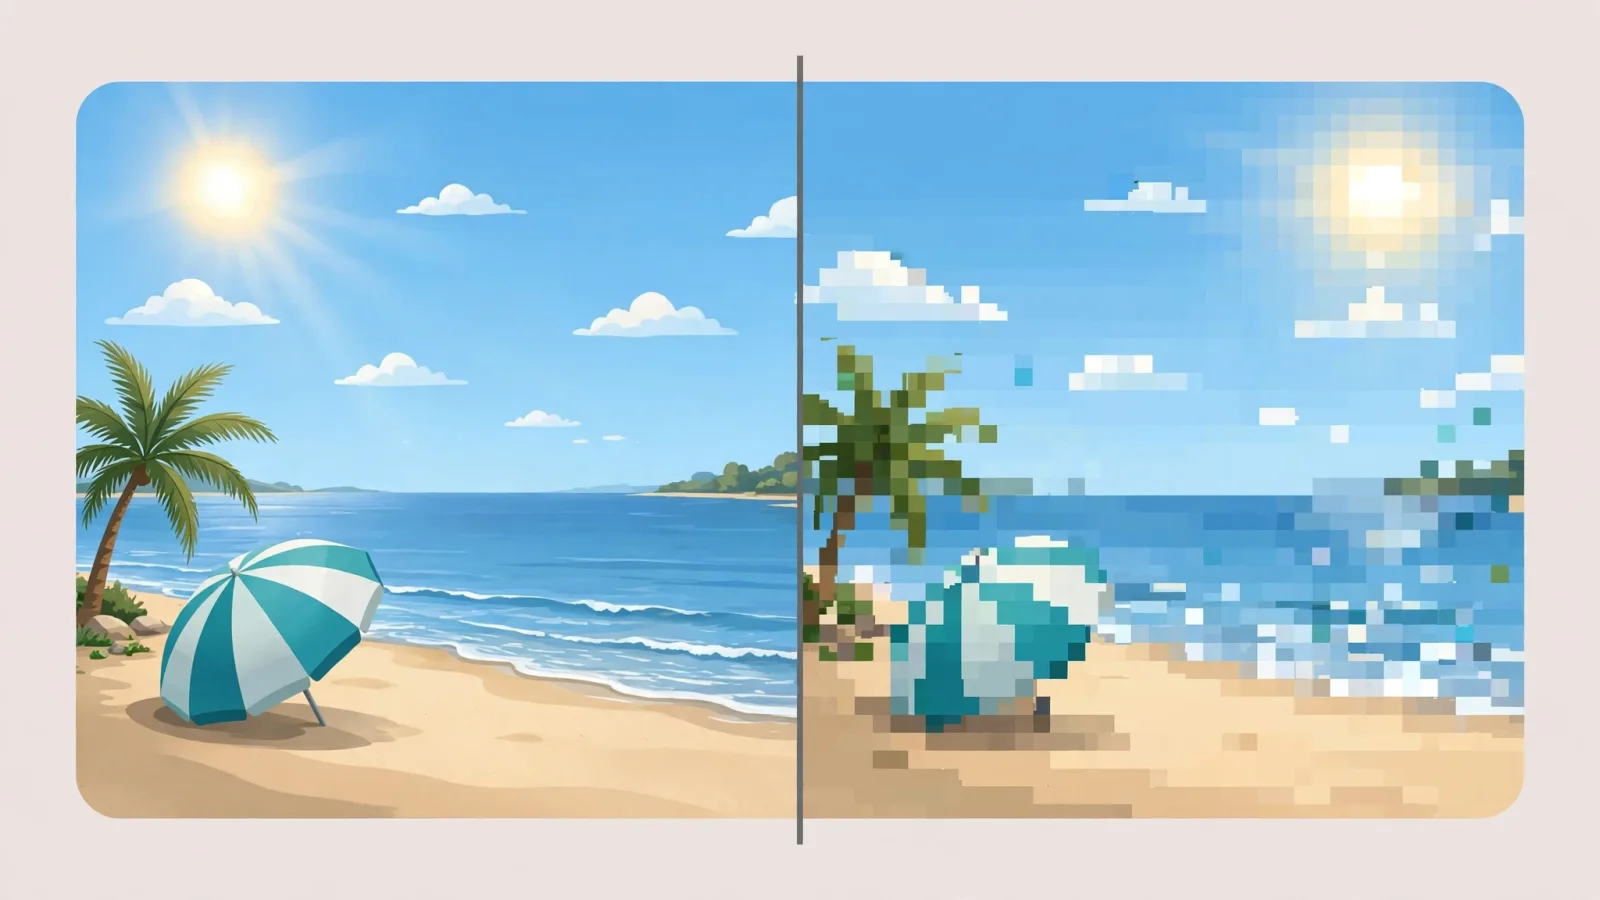
There are two kinds of compression, and mixing them up is the most common beginner mistake. Lossless compression rewrites the file more efficiently without changing a single pixel. It removes redundant data, like repeated colour values, and the image that comes out is pixel-for-pixel identical to the one that went in. The saving is modest, usually 10 to 30 percent, but the quality loss is exactly zero.
Lossy compression works differently. It studies the image and throws away detail your eye is unlikely to notice, such as subtle colour changes in a smooth sky. That is how it reaches savings of 50 to 80 percent on typical photos. The trade-off is that the data is gone for good: you cannot get it back by saving the file again at a higher quality later.
Which one should you choose? Use lossless for anything you will edit again later, such as a logo, a screenshot with text, or a master copy you plan to crop. Use lossy for finished photos that are going on the web, where nobody will zoom in to 400 percent. For most people, the practical answer is lossy at a sensible quality setting, which the next section covers, and if you want an exact target file size rather than a quality guess, our free Image Compressor lets you shrink an image to the precise kilobyte size you need.
The 75-85% quality sweet spot

If you remember one number from this guide, make it this one: for most photographs, a JPEG quality setting between 75 and 85 percent is the sweet spot. At that level the file shrinks by roughly half to four fifths, and the result looks the same as the original on a screen. Go below 70 and blocky artefacts start to appear in skies and skin tones. Go above 90 and the file balloons in size for a difference almost nobody can see.
The reason the sweet spot works is that JPEG was designed around human vision. It keeps the brightness detail our eyes are sensitive to and discards fine colour detail we barely notice. That is also why the same quality number behaves differently on different images. A smooth portrait with a blurred background compresses far better than a busy forest scene full of leaves, because there is less fine detail to throw away.
Two practical habits make the sweet spot reliable. First, always compress from the original file, never from an already compressed copy. Every JPEG save throws away more data, and the damage compounds, so a photo compressed twice looks noticeably worse than the same photo compressed once to the same size. Second, resize before you compress. A 4,000-pixel-wide photo destined for a 800-pixel-wide blog column carries four times the pixels it needs, so shrinking the dimensions with our Bulk Image Resizer first, then compressing, gives you a far smaller file than compression alone ever could.
Pick the right format: JPG, PNG, WebP and AVIF
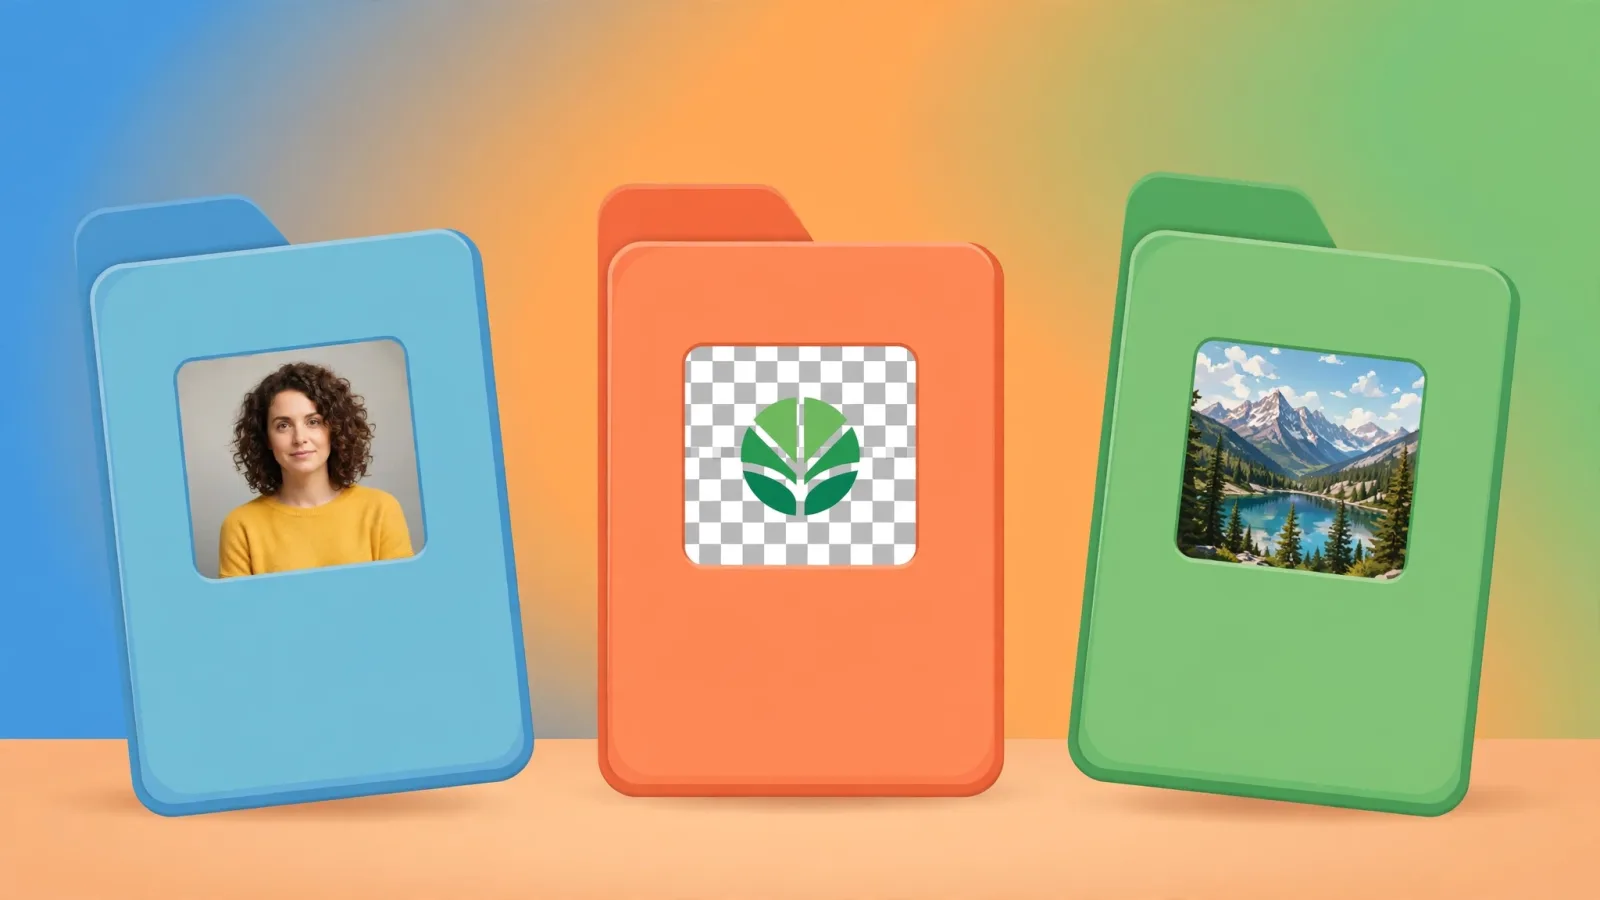
Format choice matters as much as the quality slider, because each format is built for a different job. JPEG is the workhorse for photographs: small files, universal support, but no transparency and lossy only. PNG is the choice for graphics with sharp edges, text and transparency, such as logos and screenshots, because it compresses losslessly and keeps every pixel crisp. Use PNG for a photo and you will get a huge file for no benefit.
WebP is the modern middle ground. According to Google’s own published data, WebP files are typically 25 to 35 percent smaller than JPEG files at the same visual quality, and WebP also supports transparency, which JPEG cannot do. Every major browser supports WebP in 2026, so for web use it is now the sensible default for photos and graphics alike. AVIF goes further still, with even smaller files than WebP, but encoding is slower and a small number of older tools still cannot open it, so keep AVIF as your first choice for photos and WebP as the safe fallback.
Switching formats is easy and free. You can convert between PNG, JPG, WebP and AVIF in your browser with our Image Format Converter, and if your photos arrive from an iPhone as HEIC files, run them through our HEIC to JPG Converter first, since most compressors cannot open HEIC directly.
How to compress images free in your browser, step by step
You do not need to install anything or pay anything to compress images well. The method below takes under a minute per batch and works on any device.
Start by making a copy of your originals and keeping them somewhere safe. Compression, especially lossy compression, cannot be undone, and you will be glad of the originals the day you need a print or a tighter crop. Then resize the copies to the size they will actually be shown at: a blog image rarely needs to be wider than 1,200 pixels, and a social media post rarely needs more than 1,080.
Next, choose your tool. If you want full control over one important image, Squoosh is hard to beat. It is Google Chrome Labs’ free, open source compressor, it runs entirely in your browser so your images never upload anywhere, and it lets you drag a divider across a side-by-side view of the original and the compressed version while you change the codec and quality. Its weakness is that it handles one image at a time. If you have a batch, TinyPNG is the quickest option: drop in up to 20 images of up to 5 MB each on the free tier and download the results as a zip, with typical savings of 40 to 60 percent on JPEG files and 50 to 80 percent on PNG files. The trade-off is that your images upload to TinyPNG’s servers, where they are kept for up to 48 hours before being deleted.
For a private batch with no upload and no file limit, use a browser tool that processes locally, such as our free Image Compressor, which shrinks images to an exact target size without sending them to a server. Finally, check the result at 100 percent zoom before you publish. Look at skies, faces and text edges. If you see banding or blockiness, raise the quality a little and try again. And if your source material is a scanned page rather than a photo, convert it to an image first with our PDF to JPG Converter and then compress the result.
Five mistakes that ruin image quality
Most bad results come from a handful of avoidable mistakes rather than from compression itself. The first is compressing a JPEG that has already been compressed. Each pass throws away more data, so always work from the original and keep one uncompressed master copy.
The second is choosing the wrong format: saving a photo as PNG, which can be five times larger than the same photo as JPEG, or saving a logo with text as JPEG, which smears the sharp edges. Match the format to the content, as the previous section describes.
The third is uploading full-resolution camera files when a smaller version would do. A 12-megapixel phone photo is about 4,000 pixels wide; a web page almost never displays it that large. Resize first, compress second, and you will often halve the file before the quality slider even matters.
The fourth is trusting a tool that uploads your images without checking what happens to them. Some free compressors keep uploads, add watermarks, or cap you at a handful of files a day. Check the free limits and the retention policy before you drop in anything private, and prefer tools that process in your browser when the images are sensitive.
The fifth is never looking at the result. Compression settings are a guide, not a guarantee, and a busy image at quality 75 can look worse than a smooth one at quality 65. A ten-second zoomed-in check catches the artefacts that a thumbnail preview hides.
Frequently asked questions
Can you compress an image without losing quality? Yes, with lossless compression, which rewrites the file more efficiently without changing a pixel, typically saving 10 to 30 percent. Lossy compression at quality 75 to 85 usually saves 50 to 80 percent with no visible difference at normal viewing size, which is what most people mean by “without losing quality”.
What is the best free image compressor online? It depends on the job. Squoosh is best when you want precise control over a single image and full privacy, since it never uploads anything. TinyPNG is best for a quick batch of up to 20 images under 5 MB each. A local browser tool is best when you need an exact target file size or you do not want your images to leave your device.
Does compressing an image reduce its resolution? No, not by itself. Compression reduces file size; resizing reduces resolution. The two are separate steps, and doing the resize first is what makes compression so effective, because there are simply fewer pixels to store.
Is WebP better than JPEG? For the web, usually yes. WebP files are around 25 to 35 percent smaller than JPEG at the same visual quality according to Google’s data, and WebP supports transparency. JPEG still wins where maximum compatibility matters, such as email attachments and older software.
Why do my compressed images look blurry? Usually the quality was set too low, the image was compressed twice, or a photo was saved as a low-quality JPEG after being resized up from a small original. Start from the original file, stay at quality 75 or above for photos, and never enlarge an image before compressing it.
Image compression is one of those rare tasks where the free option is also the good option. Keep your originals, resize before you compress, stay near quality 80 for photos, and pick WebP for the web. Do that and your pages will load faster, your visitors will stay longer, and nobody will ever notice a pixel missing. All facts and free limits in this guide were checked on 13 November 2026.